Project management is a complex endeavor that demands precision, organization, and effective communication. Gantt charts, a visual representation of project timelines, have become a cornerstone tool in project management, aiding professionals in planning, monitoring, and executing projects with greater efficiency. In this article, we will delve into the best practices for utilizing Gantt charts to ensure your projects run smoothly and successfully.
What Is a Gantt Chart?
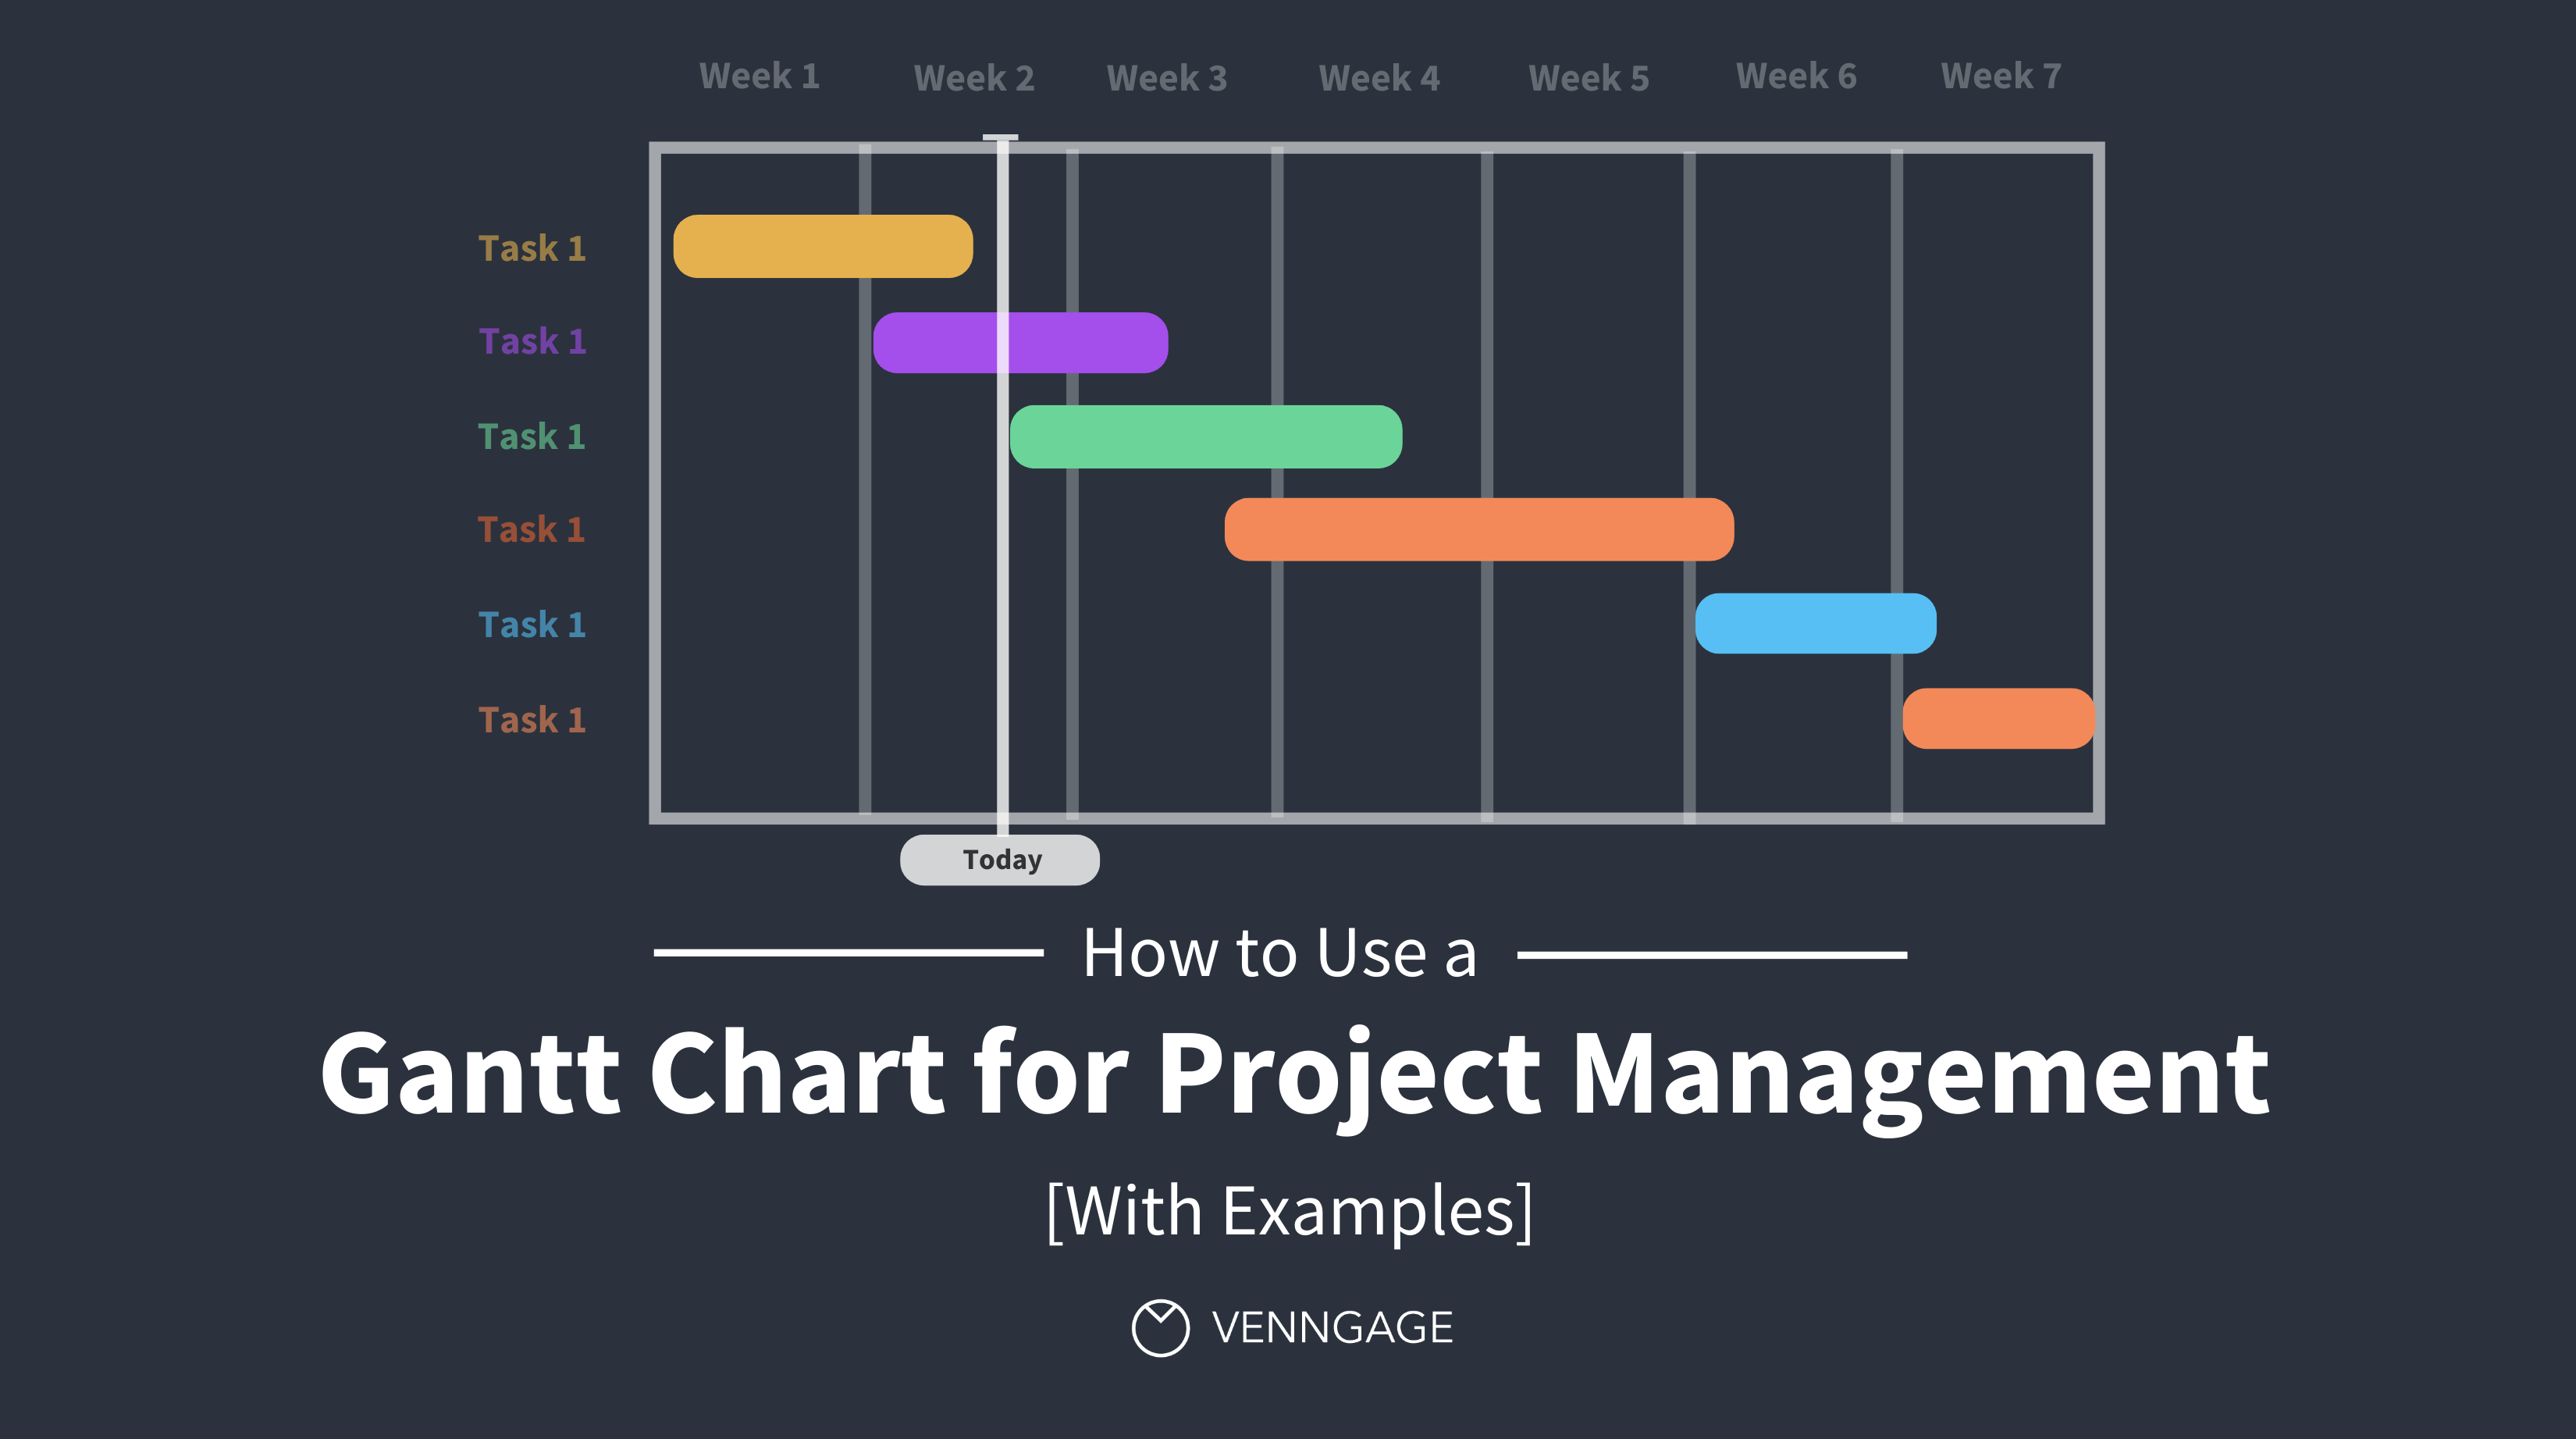
A Gantt chart is a bar chart that illustrates a project schedule over time. It was developed by Henry L. Gantt in the 1910s and has since become a widely accepted tool for project management The chart consists of horizontal bars representing project tasks or activities and a timeline, typically displayed in days, weeks, or months. It offers a visual representation of when each task should start, when it should be completed, and how tasks overlap.
Best Practices for Gantt Chart Usage
1. Clear Task Descriptions
Each task on your Gantt chart should have a clear and concise description. Avoid vague labels like “Task 1” and instead provide descriptive names, so team members can easily understand the scope and purpose of each task.
2. Task Dependencies
One of the key advantages of Gantt charts is their ability to show task dependencies. Clearly indicate which tasks are dependent on others, whether it’s a finish-to-start, start-to-start, or finish-to-finish relationship. This helps in managing the sequence of tasks effectively.
3. Realistic Timeframes
Set realistic timeframes for each task. Overestimating or underestimating the duration of tasks can lead to inaccurate project scheduling. Consult with team members who will be working on these tasks to ensure the timeframes are reasonable.
4. Resource Allocation
Allocate resources (human resources, equipment, or materials) to each task. This ensures that you have the necessary resources available when they are needed, preventing bottlenecks or delays.
5. Regular Updates
Gantt charts are not static documents. Regularly update the chart to reflect the current status of the project. As tasks are completed or delayed, adjust the timeline accordingly.
6. Milestones
Incorporate project milestones into your Gantt chart. Milestones are significant points in the project timeline, such as project kick-off, client meetings, or major deliverables. They serve as reference points to track progress and celebrate achievements.
7. Team Collaboration
Share the Gantt chart with your project team. Collaboration is essential in project management, and by allowing team members to access and contribute to the chart, you create a sense of ownership and transparency.
8. Use Gantt Chart Software
Invest in Gantt chart software, which simplifies the process of creating and maintaining Gantt charts. These tools offer features like task dependencies, resource allocation, and real-time updates, making your project management more efficient.
9. Color Coding
Consider color-coding tasks to categorize them by type, department, or priority. This visual aid helps team members quickly identify tasks that pertain to them and understand the broader project structure.
10. Critical Path Analysis
Identify the critical path in your Gantt chart. The critical path is the sequence of tasks that, if delayed, will delay the entire project. Knowing the critical path helps you prioritize tasks and resources effectively.
11. Risk Management
Gantt charts can be used for risk management. Identify potential risks and uncertainties within the chart, so you can develop contingency plans for addressing these issues if they arise.
12. Regular Review Meetings
Hold regular project review meetings with your team, using the Gantt chart as a visual aid. Discuss progress, challenges, and adjustments needed to keep the project on track.
13. Version Control
Maintain version control of your Gantt chart. Use file-naming conventions or version control features in your software to ensure that everyone is working with the latest version of the chart.
14. Keep It Simple
While Gantt charts can become quite complex for large projects, strive to keep them as simple as possible. Overly detailed charts may overwhelm team members and make it harder to focus on essential tasks.
15. Training and Education
Invest in training for your team in Gantt chart usage. This ensures that everyone understands how to read and update the chart, improving communication and reducing the chances of errors.
Benefits of Using Gantt Charts
The best practices mentioned above are underpinned by the numerous benefits Gantt charts offer in project management:
- Visual Clarity: Gantt charts provide a clear visual representation of the project, making it easy for stakeholders to understand the project’s progress and status at a glance.
- Task Accountability: Assigning tasks and responsibilities in Gantt charts helps establish clear accountability within the team, reducing the chances of tasks falling through the cracks.
- Efficient Resource Allocation: Resource allocation is more efficient when it is based on the requirements specified in the Gantt chart.
- Change Management: Gantt charts facilitate change management by allowing you to adjust schedules and priorities in real-time.
- Communication: Gantt charts improve communication among team members, making it easier to discuss project updates and challenges.
- Time Management: Project timelines are clearly defined in Gantt charts, helping teams manage their time effectively.
- Monitoring Progress: Regular updates and milestone tracking allow for effective progress monitoring.
Conclusion
Gantt charts are invaluable tools in the world of project management. By following the best practices outlined in this article, you can harness the power of Gantt charts to plan, execute, and complete projects successfully. Whether you’re managing a small team or a complex, long-term project, Gantt charts offer a structured and visually appealing way to stay organized and in control of your project’s timeline and tasks. Embrace these best practices, and you’ll be well on your way to achieving project management excellence.